Second Half Barrage Buries Eagles at Iowa Wesleyan


| Final | 1 | 2 | T |
|---|---|---|---|
|
|
0 | 0 | 0 |
|
|
0 | 6 | 6 |
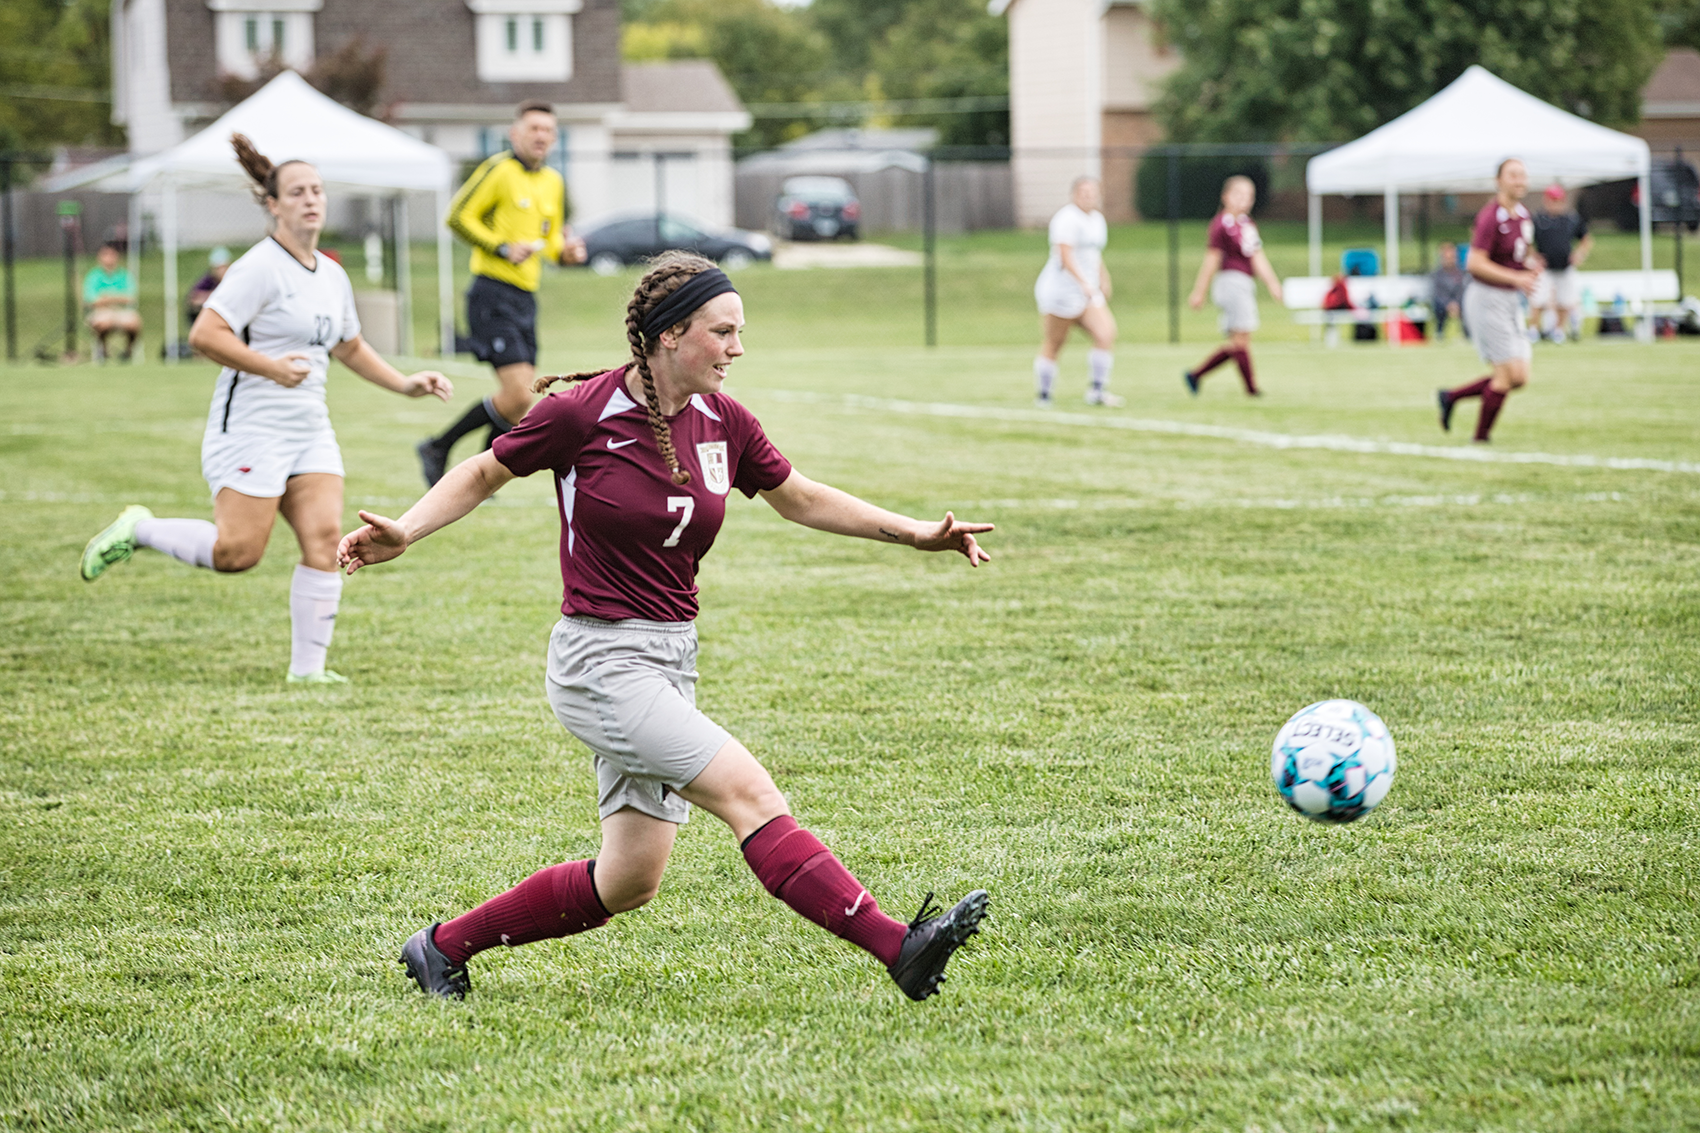
BURLINGTON, Iowa—A scorching 90 degree day in southern Iowa eventually took its toll on the Faith women's soccer team on Saturday as the Eagles fell to Iowa Wesleyan College by the score of 6-0.
The defense stood its ground for the entirety of the first half, battling the Tigers to a 0-0 standoff, but Iowa Wesleyan dominated the shots on goal, wearing down the Faith defense in a stifling heat that would prove lethal in the second half. A late surge by the Eagles just before the halftime buzzer nearly put Faith on the board, but one shot went wide left, and the other was saved by the Tigers' goalie.
The wear and tear of the first half would eventually catch up to the Faith defenders, and when it did, it happened in a hurry. Iowa Wesleyan's Giovana Pedrassani scored a goal at the 49:45 mark, and from there, it was all Tigers, who scored five more times in the half for the 6-0 win. Pedrassani, the junior from Ceara, Brasil, was sensational, scoring one goal and assisting on four others. Despite the shutout, the Eagles did manage to get 11 shots on goal, led by Brenna Penrod and Abigail Speichinger, who had four each.
With the loss, Faith fell to 1-2-1 on the season. The Eagles get another stiff test this Saturday with a big home matchup against Randall University. Randall returns the core of its team that reached the NCCAA national title game a year ago, where they finished as the runner-up to Maranatha. The last time the Eagles faced Randall was in the 2019 consolation game at the NCCAA Championships in Kissimmee, Florida, when Faith defeated the Saints by the score of 1-0 to place third in the nation. Game time is 11 a.m.
Team Stats
Iowa Wesleyan College
| Game Statistics | Faith Baptist Bible College | Iowa Wesleyan College |
|---|---|---|
| Shots (on goal) | 13 (11) | 31 (24) |
| Saves | 12 | 10 |
| Fouls | 1 | 9 |
| Corner Kicks | 2 | 10 |
| Offsides | 0 | 0 |


